Managing Travel Guide
Adding a Destination
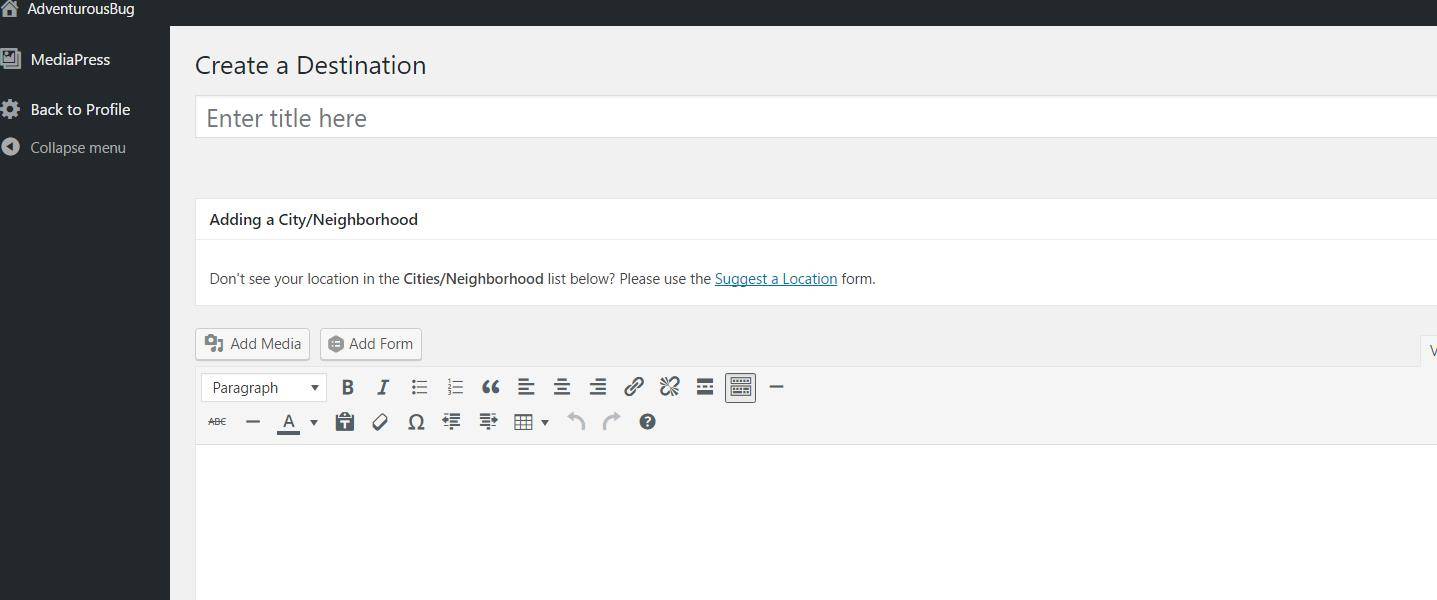
Once you sign in click Travel on the Members Dashboard. Destinations can range from a wide range of your favorite places from Cafes and Museums, to Hikes and Helicopter rides. This is where you get to share with members destinations in your city or a city you traveled to.
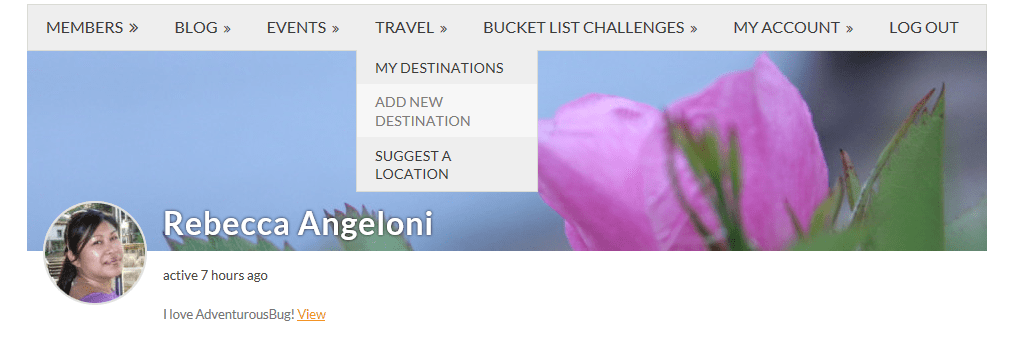
To add a destination, click the “Add New Destination” in the drop down menu.
This will bring you to a page where you can enter the details for your destination.
** Note: Cities/Locations: Each destination must be assigned to a city or location. If you don’t see your city or location click the “Suggest a Location” form and fill it out. Our admin will process the request and create your city or location. This feature is to avoid any doubling and tripling up on cities that may already be added or in the queue be to added. Once AdventurousBug adds your city you may continue to impute all of your favorite places. We do our best to add your city within 24 hours of request.
You have two places access Suggestion a Location request:
Under Travel main page
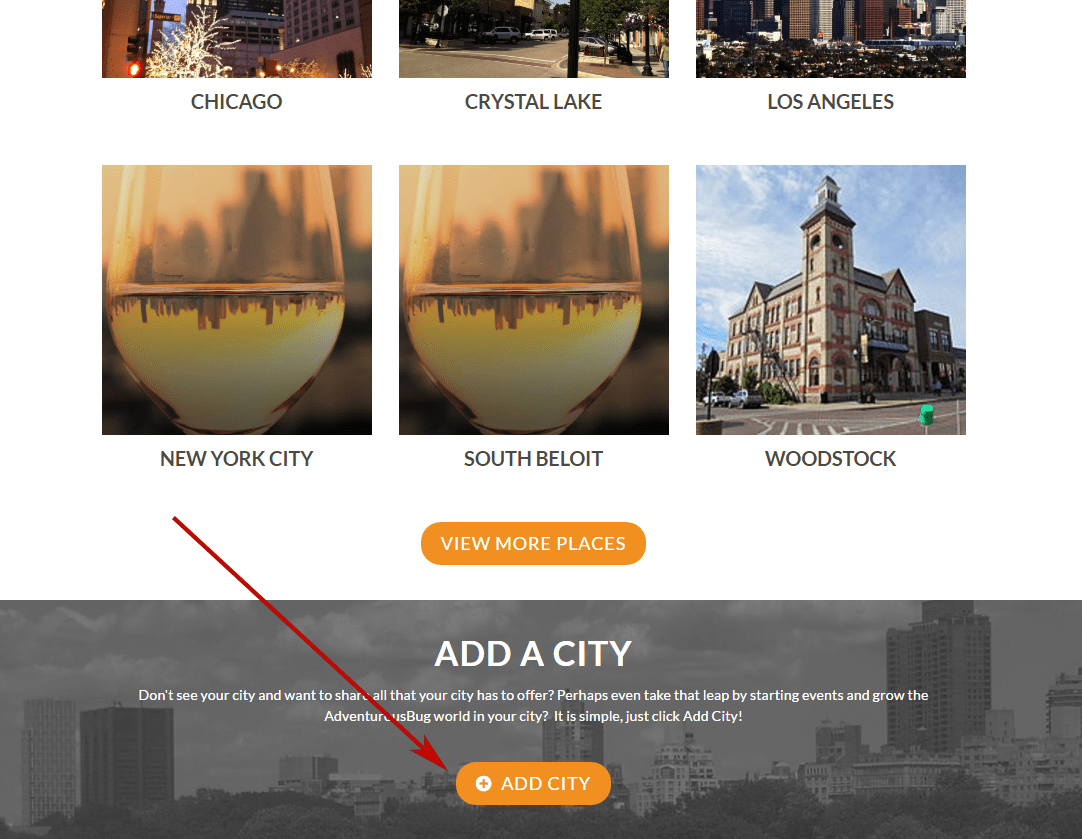
OR in the Destination menu
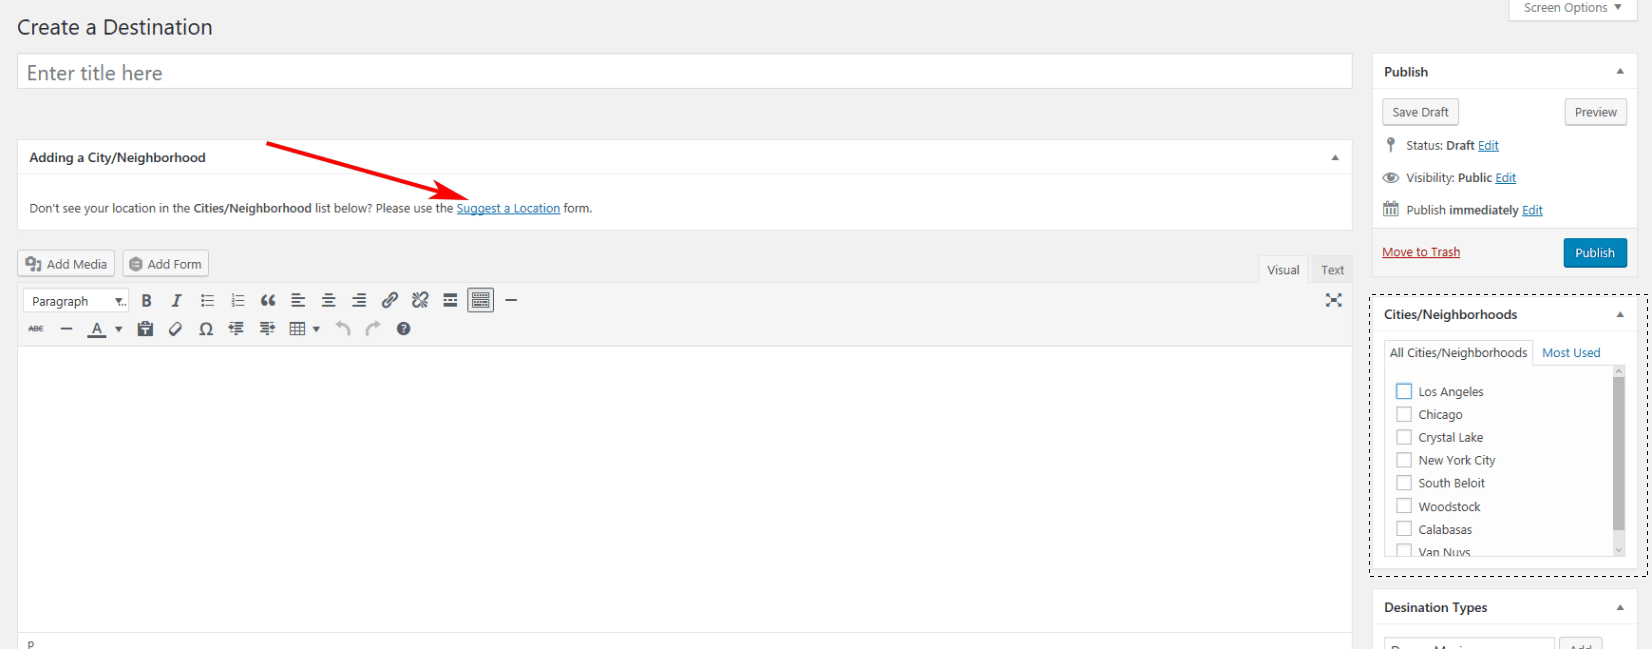
Enter your Destination here, include name and all information you believe is helpful to members.
*Please do not add your country, state, region, city or neighborhood in Create a Destination, it will not populate correctly.
Media: You can add images and media of the destination you are adding. For a full breakdown of the “Add Media” functions, please refer to WordPress’s comprehensive guide located at http://codex.wordpress.org/Inserting_Images_into_Posts_and_Pages.
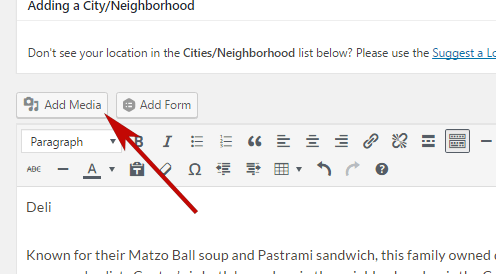
For a full breakdown of the “Add Media” functions, please refer to WordPress’s comprehensive guide located at http://codex.wordpress.org/Inserting_Images_into_Posts_and_Pages.
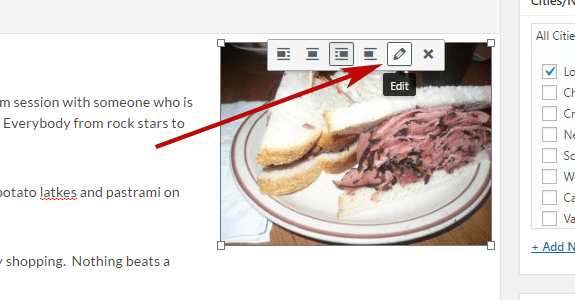
To edit size, assign a caption and description to an image this can be done when you upload the image OR after it has been inserted. To edit an image after you’ve inserted it into your post, click the image, then click the ‘Edit Image’ icon that appears at the top of the image, as shown below. To delete image simply click the 'x'.
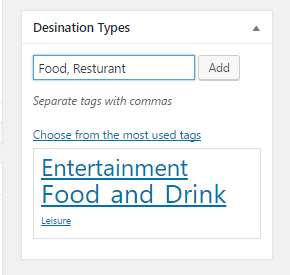
Destination Types: Destinations can be tagged by type. Enter tags that match the destination and separate the tags with commas. Click the “Choose from the most used tags” button to see all previously used tags.
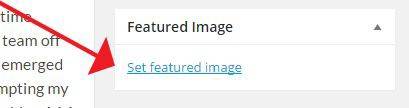
Featured Image: This controls the photo that will appear in the feeds on the main Travel page.
Click on the “Set Featured Image” link that’s in the Featured Image box located on the right-hand side of the page.
This will open a window where you can upload your photo.
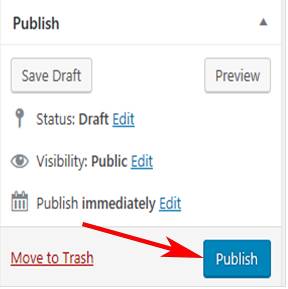
Publishing the Destination: Once you’re done setting up the destination, hit the blue Publish button to make it live on your site!
Editing a Destination
Once you sign in click Travel on the Members Dashboard.
Click on “My Destinations”
Click on the destination you want to edit and at the bottom of your destination click the “Edit” button.
This will bring you to a page where you can edit the text and details for the destination.
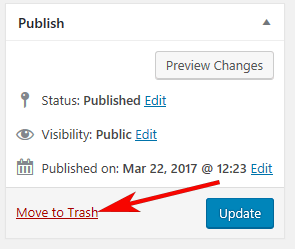
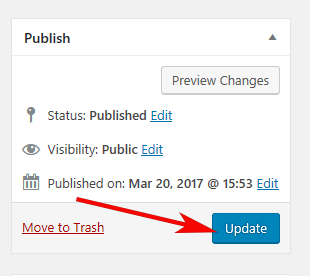
Once you’ve completed making your changes, be sure to click the blue [Update] button to publish the changes to the website.
If you would like to remove this Destination click on 'Trash'. Once it is trashed you cannot recover your destination.