Managing Blogs
Add a Blog Post
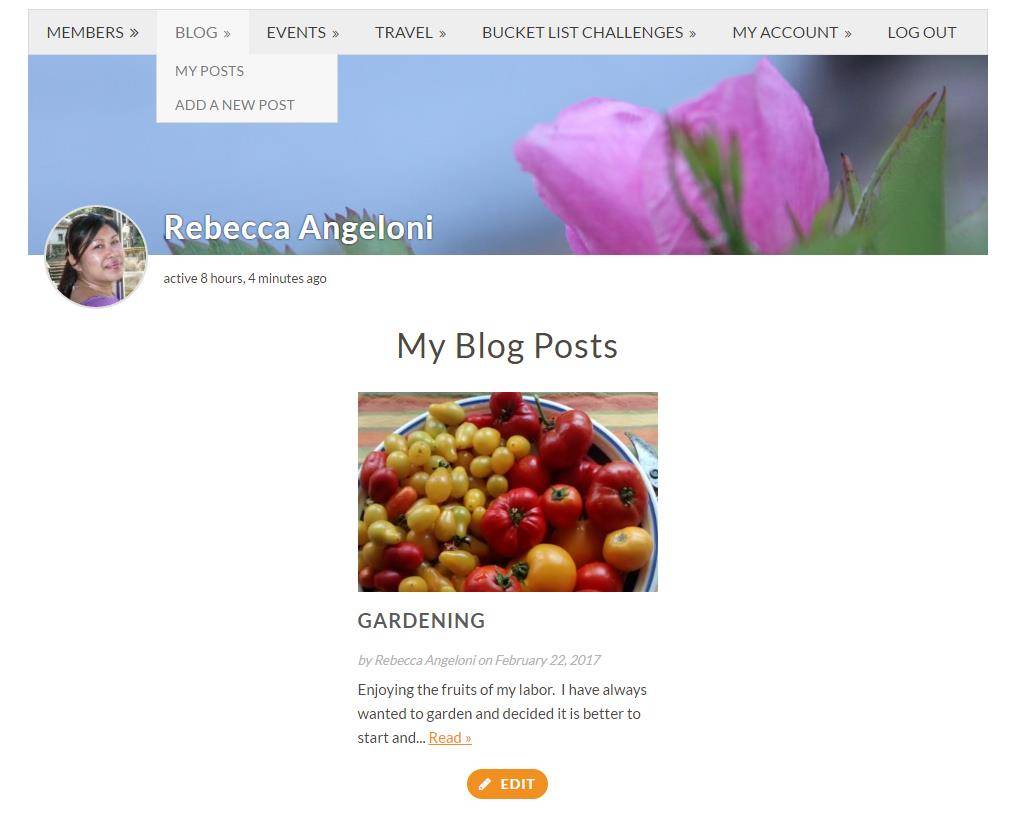
Click the “Add A New Post”
This will bring you to a page where you can enter the text for your blog post.
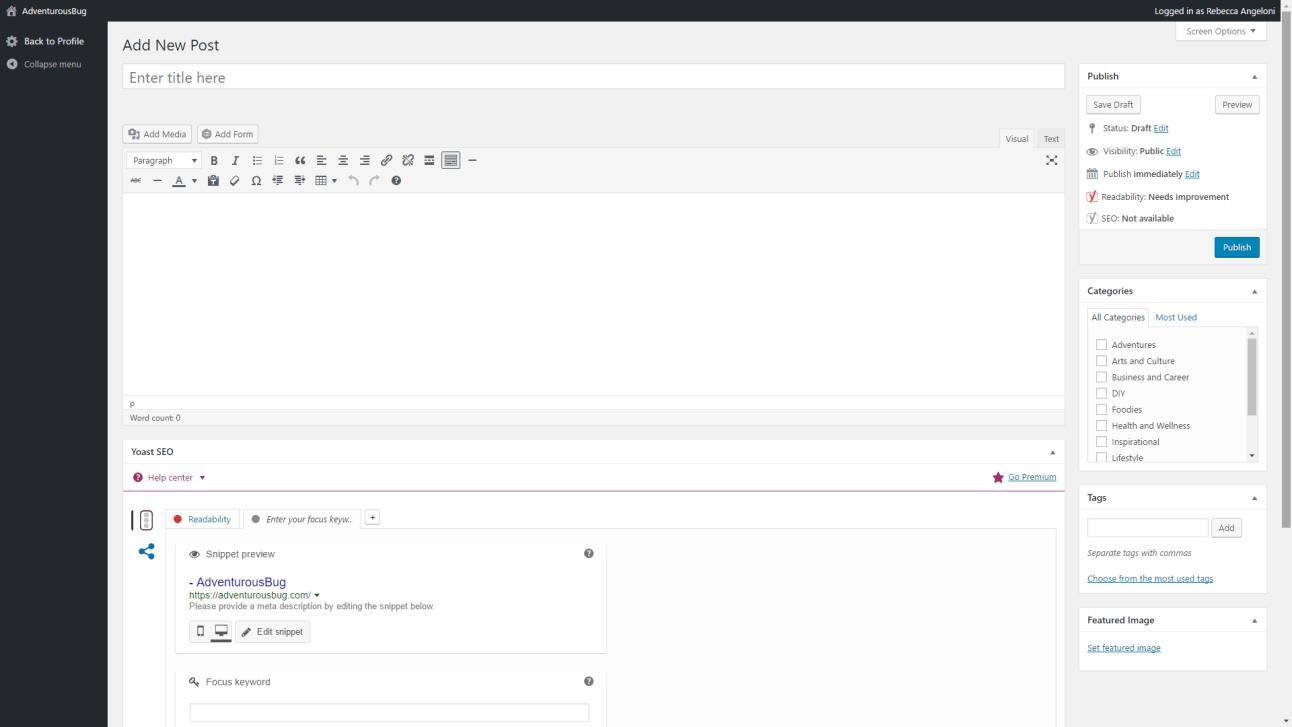
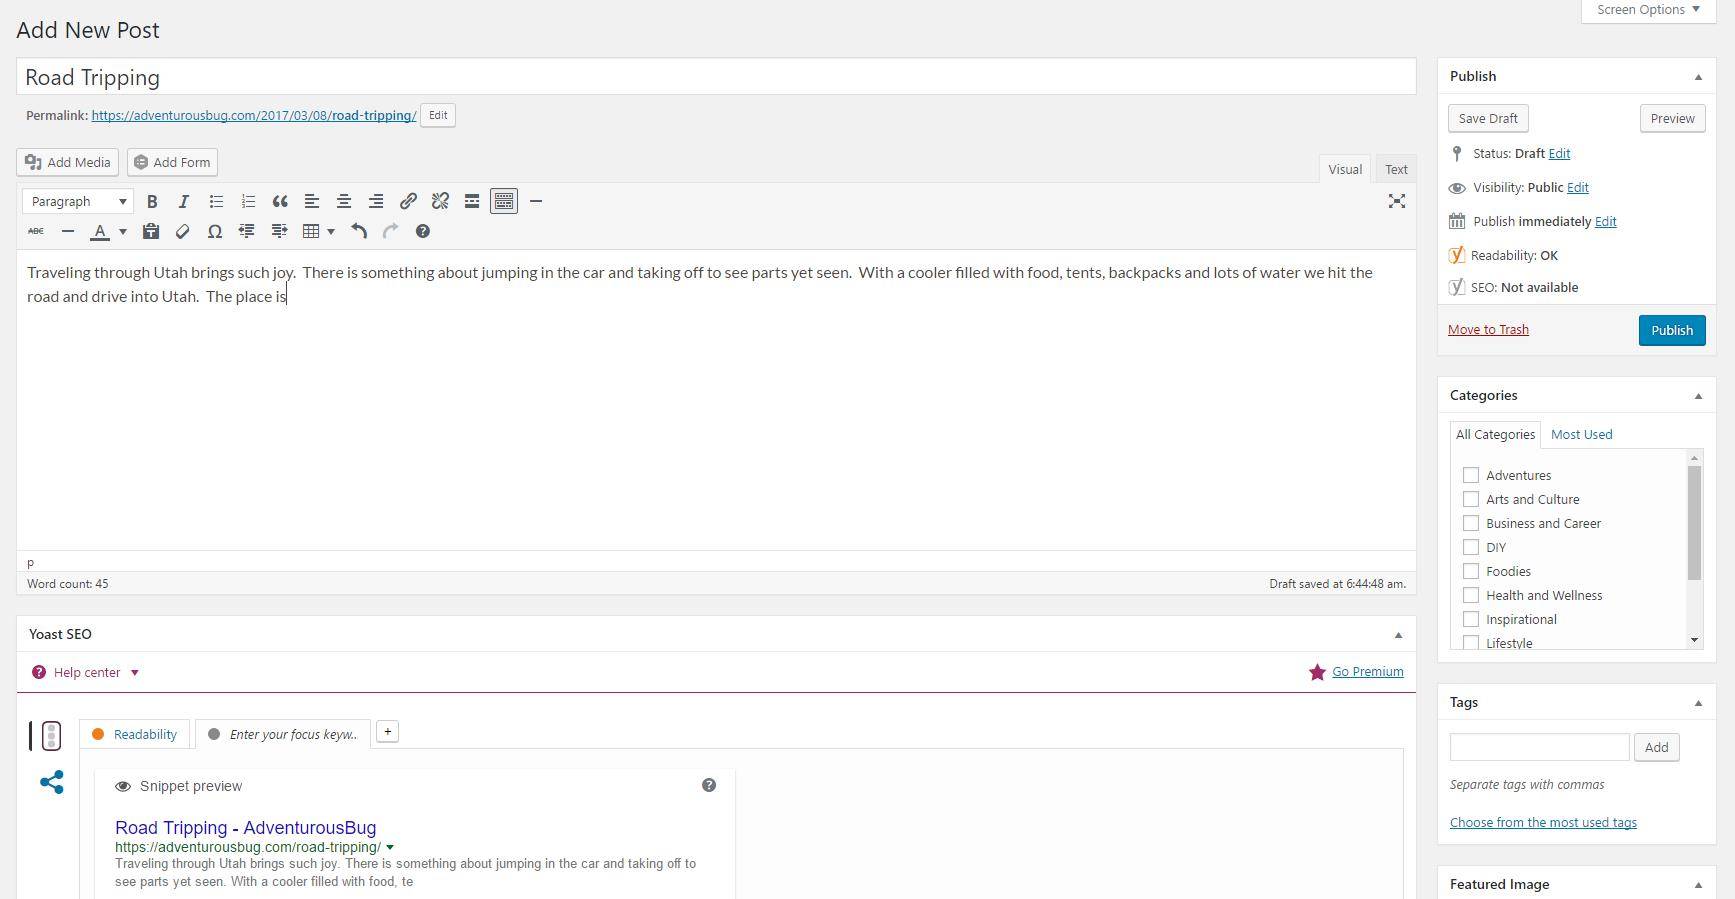
Title: The title of this post. WordPress will automatically generate a URL/permalink based on this
Content: A text box in which to type content, insert images, etc.
Add Images: Note the “Add Media” link at the top left corner of the content box; click it to upload images/media, insert images, etc.
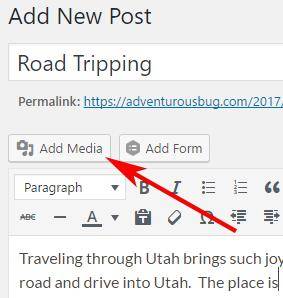
For a full breakdown of the “Add Media” functions, please refer to WordPress’s comprehensive guide located at http://codex.wordpress.org/Inserting_Images_into_Posts_and_Pages.
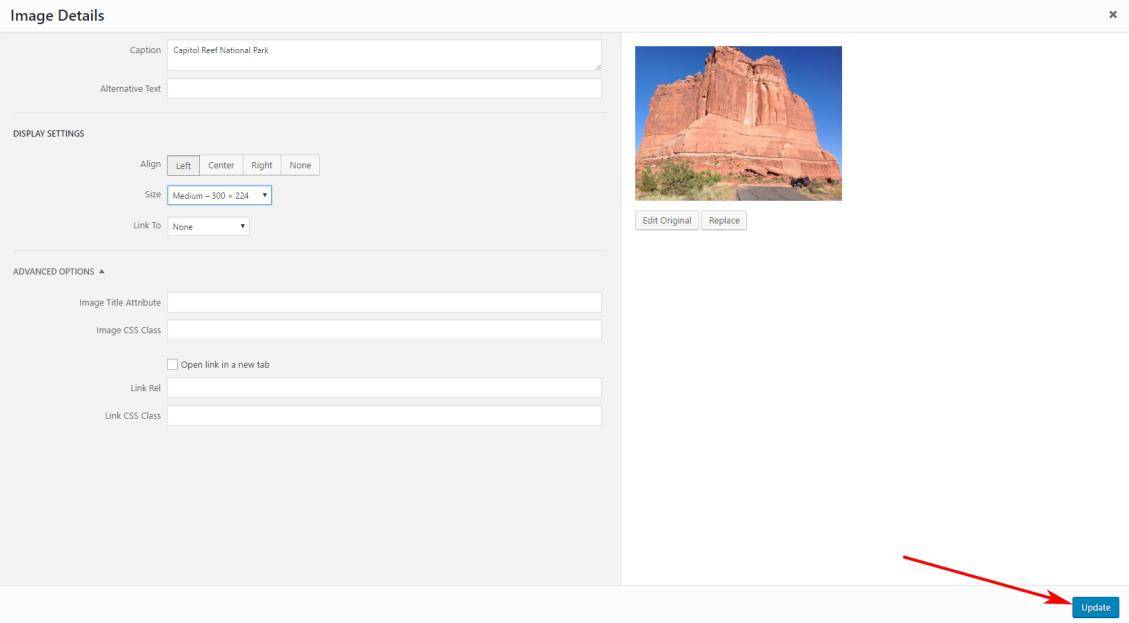
To edit size, assign a caption and description to an image this can be done when you upload the image OR after it has been inserted. To edit an image after you’ve inserted it into your post, click the image, then click the ‘Edit Image’ icon that appears at the top of the image, as shown below. To delete image simply click the 'x'.
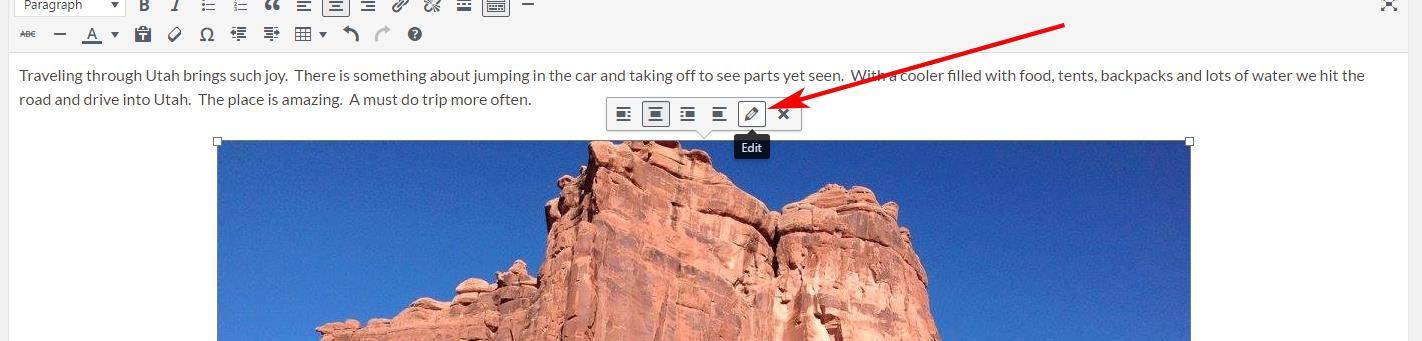
Once you made your edits, click ‘Update’ to update your photo changes.
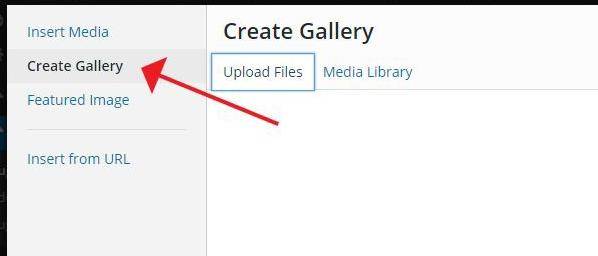
Add Photo Gallery: To add a photo gallery, you use the “Add Media” button just like you would to insert photos. When the media screen opens, select “Create Gallery” from the left-hand column. This will allow you to upload new images or select from your existing media gallery.
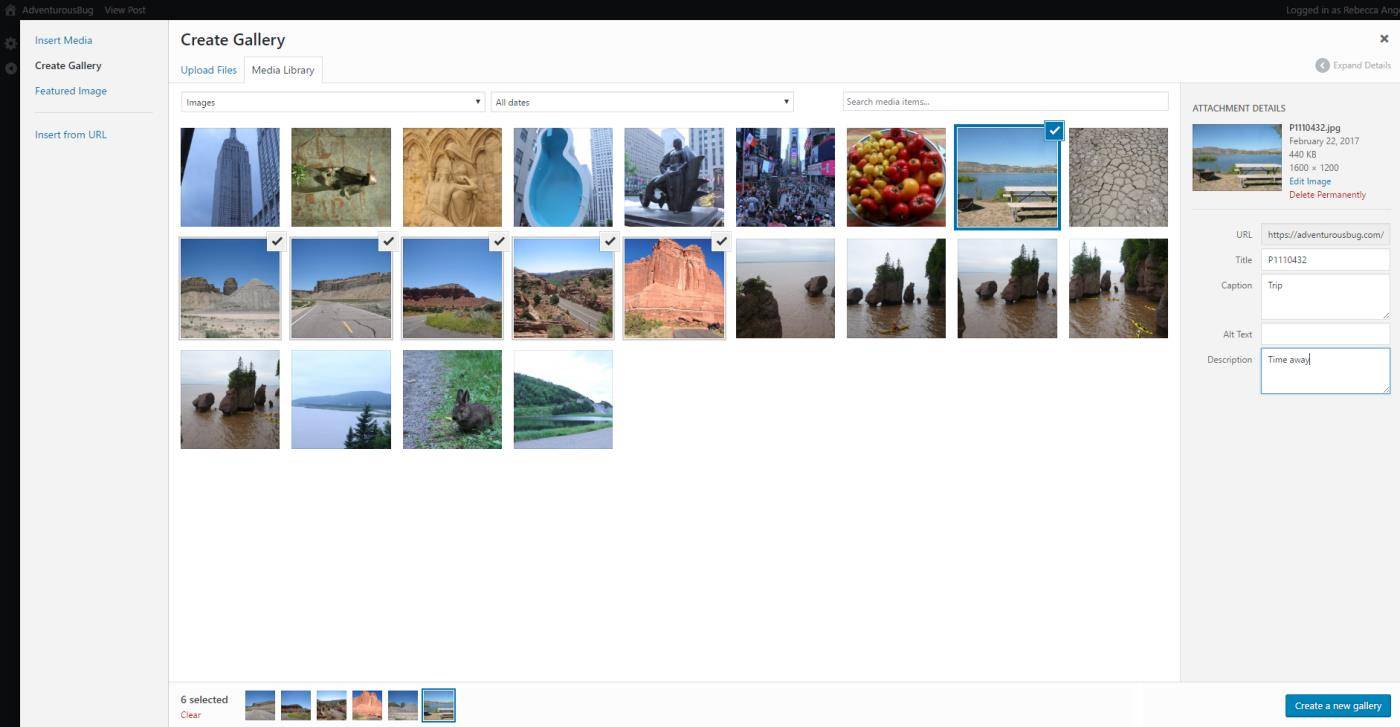
You may edit images, delete images and add details. Once you’ve selected your images you may, click the blue “Create a New Gallery” button.
This will bring you to a screen where you can edit the order of images in your gallery and add captions. If you want to change the order of the images, drag and drop them into the desired order. You can remove an image using the small [ X ] button located on individual images. Gallery Settings you can choose the Size of images and Type of layout you would prefer for your Blog post.
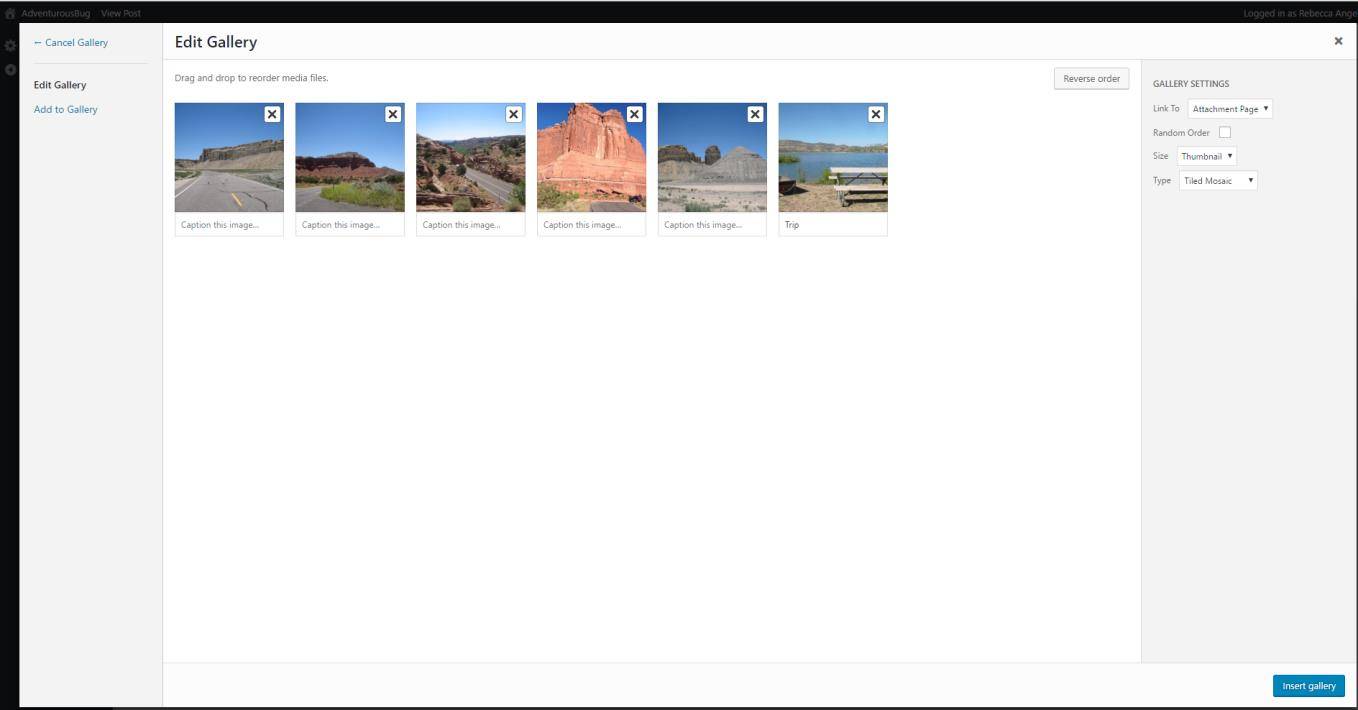
When done, hit the blue [Insert Gallery] button to have the gallery added to your post.
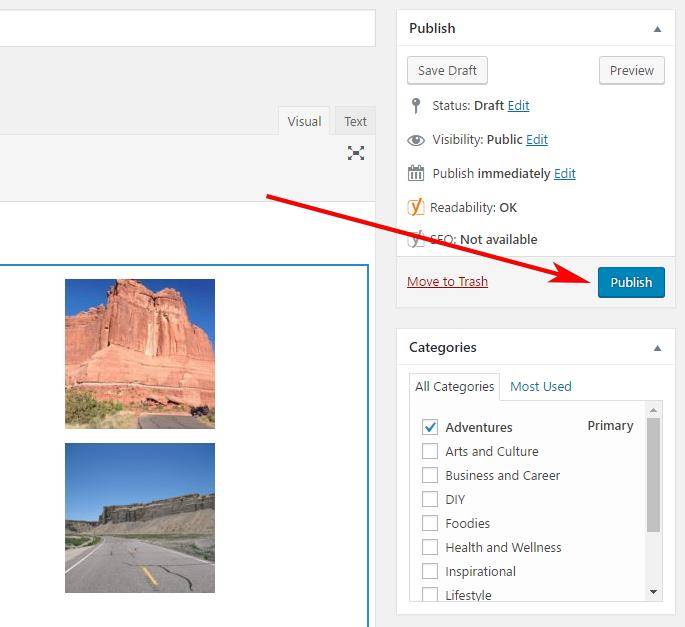
Publish: This box allows you to:
- Save Draft: Save your post without having it appear on your
- Preview: View your post as it would appear on your site if it were
- Publish immediately [edit]: Allows you to choose when you would like to publish this If you do not change this value, it will publish with today’s date. If you want to change the date of the news release, you need to hit the “Edit” button and then select an alternate date
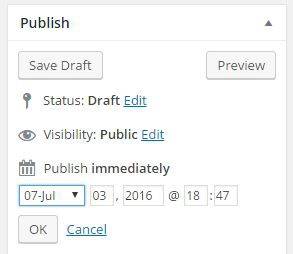
Publish (button): Saves your post and publishes it to site. Use this when your article is ready to go
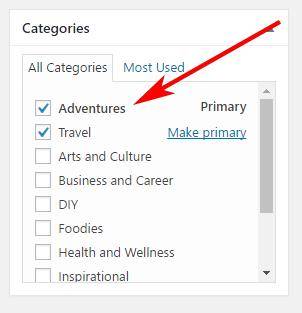
Category: Choose the category that you want to publish your blog to.
Setting a tags and featured image for your Blog post, select which tags best describe you Blog and an Image that you want featured in the banner of your post
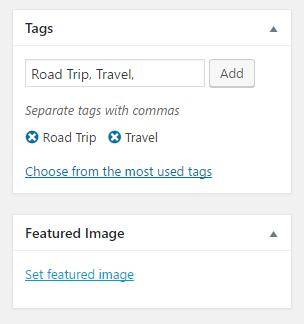

Once you selected a featured image you can always go back and make changes.
Once you’re done setting up your post, hit the blue Publish button to make it live on the site!
Yippee!
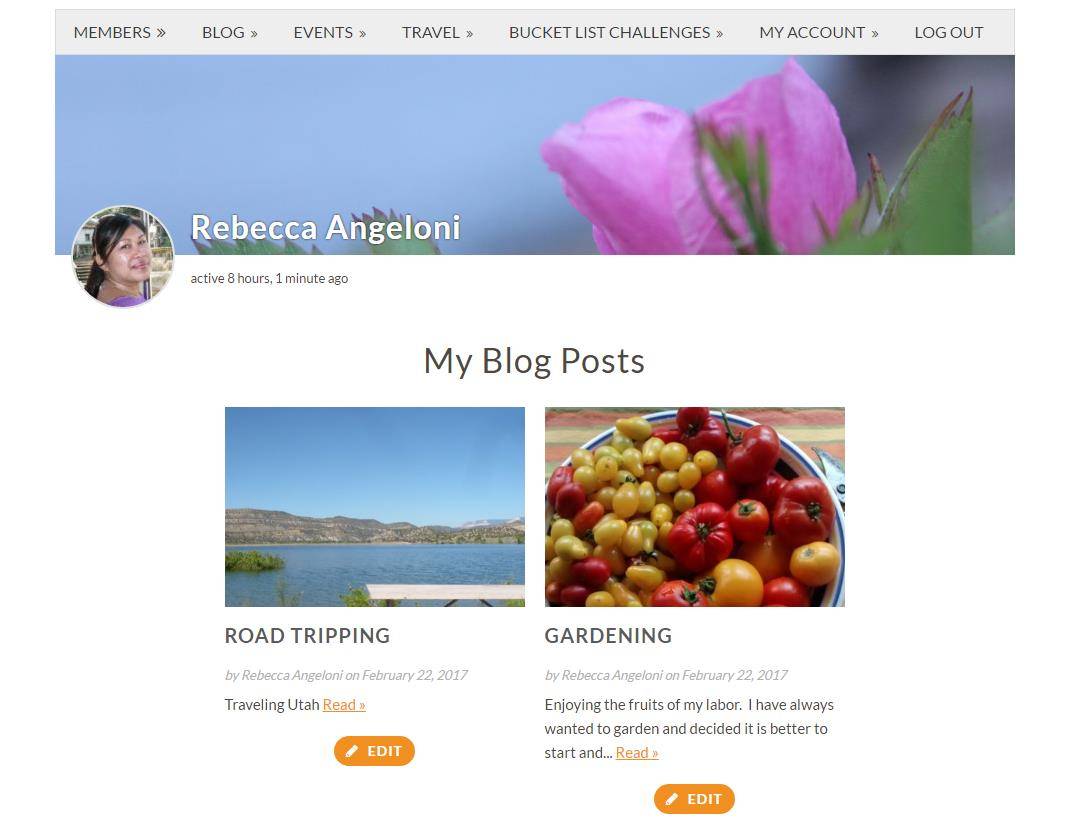
Editing a Blog Post
You can choose to edit any of the existing blog posts. This is done through Blog section. Select Blog you want and click Edit button.
This will bring you to a page where you can edit the text of the blog post.
Date: If you want to change the date or visibility on a blog post you can do this in the Publish box on the right-hand side of the screen. Hit the “edit” button to make changes.
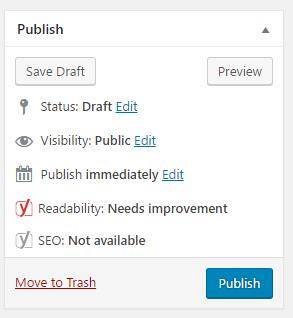
Note: Readability lets you know if your Blog needs improvement, WordPress offers you helpful hints at the bottom of the form to improve your Blog Posts.
Saving Changes
To save your changes to the page you MUST click the blue “Update” post. The changes will then appear on the website (please note - you may need to refresh your browser to see the updates).
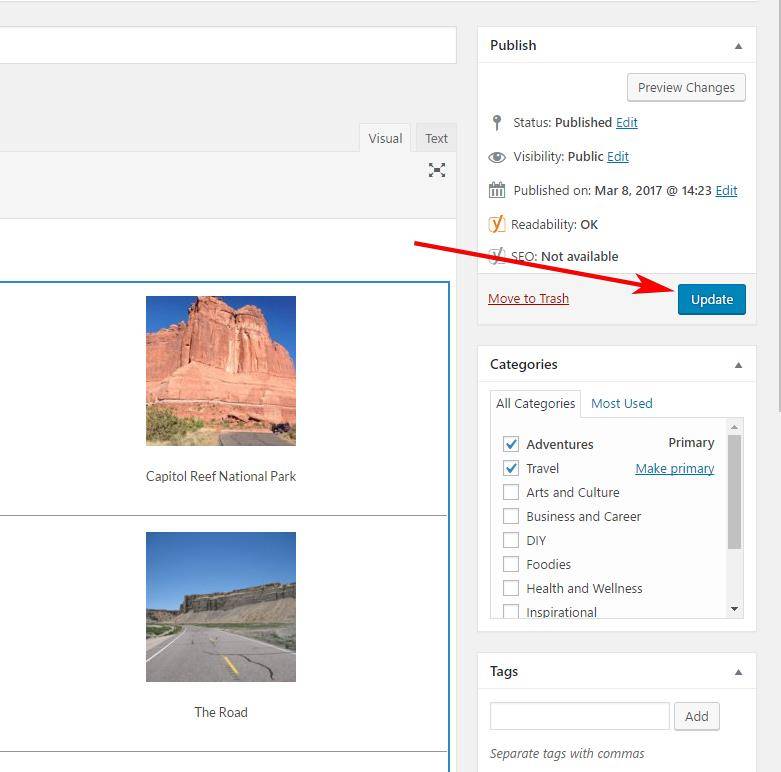
** Remember always update you Blog post before exiting. Not Updating will not save your changes.
Deleting a Blog Post
If you want to remove a Blog Post from the website open the Edit button of the Blog you wish to remove a menu will appear the post that gives you the option to “Move to Trash” an individual item:
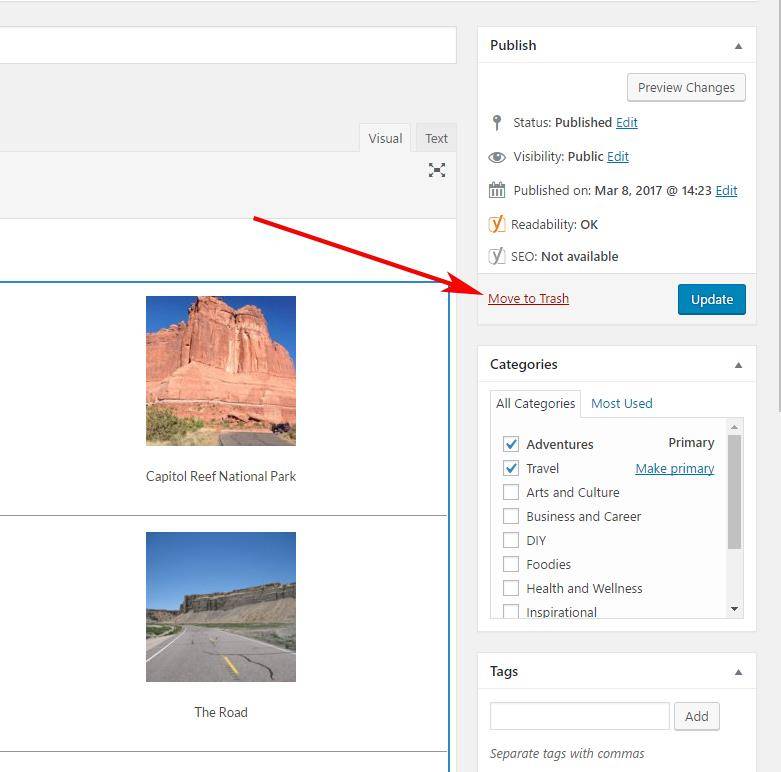
When you click “Move to Trash” it will move the post to the trash and removed from website. Once it is Trash it is not recoverable. So be sure you want to Trash it.